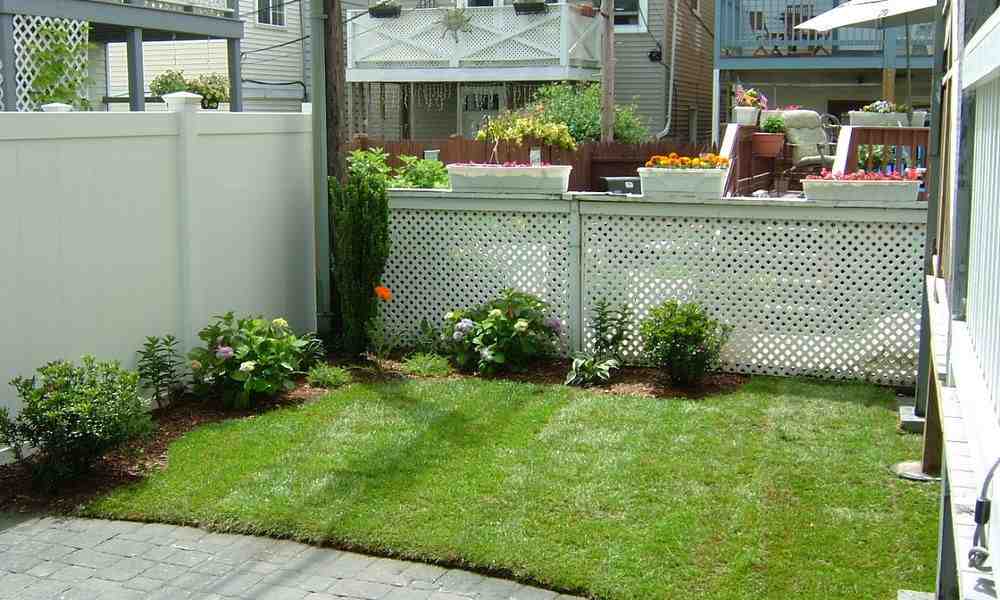
The Ultimate Guide to Edging for Bark Chippings
Why Edging for Bark Chippings is Essential
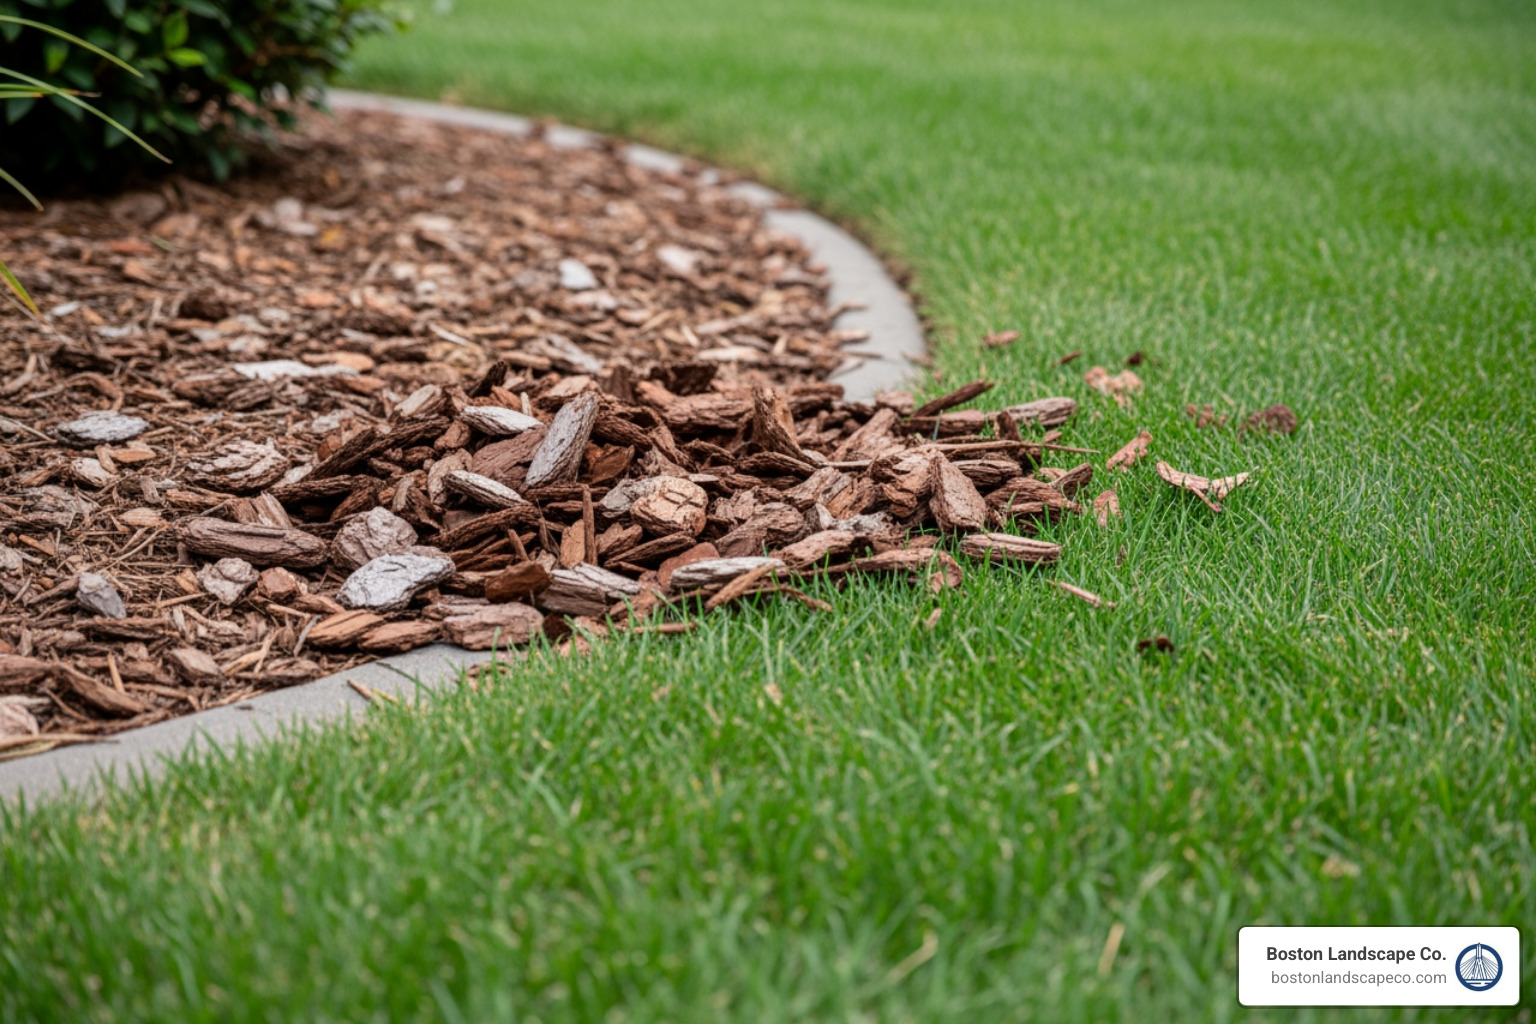
If you have ever spent a Saturday afternoon picking individual pieces of wood mulch out of your grass, you already know why edging for bark chippings is a non-negotiable part of garden design. Without a firm boundary, bark is prone to “material migration.” Wind, heavy New England rain, and even the local wildlife can displace your mulch in a matter of days.
In our experience serving homeowners from Stoneham to Winchester, we’ve identified several critical reasons to install a dedicated border:
- Mower Protection: Stray bark chippings are a nightmare for lawnmowers. When chippings spill onto the grass, mower blades can strike them, potentially damaging the equipment or turning a piece of bark into a high-speed projectile. A recessed or raised edge keeps the “danger zone” clearly defined.
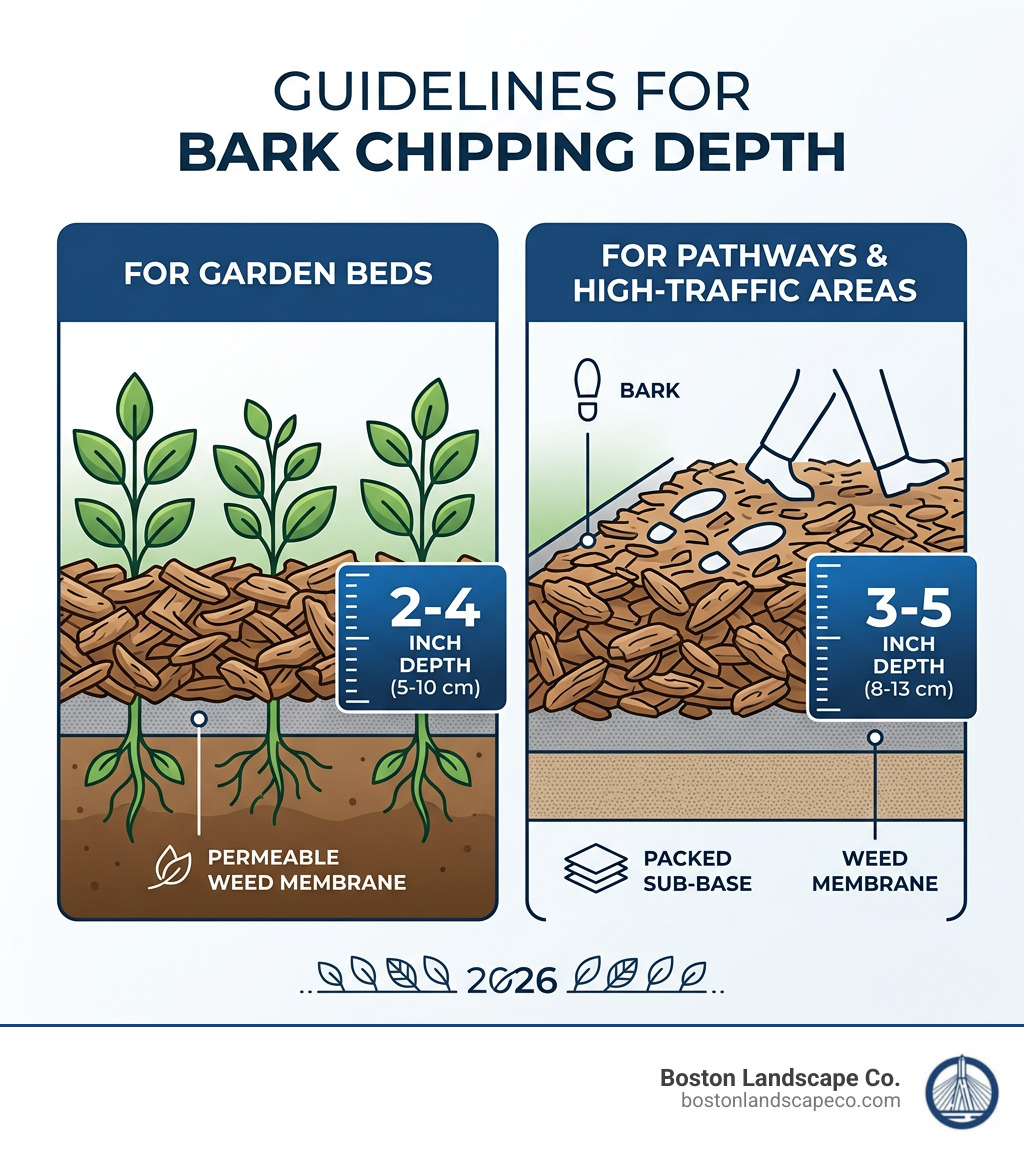
- Containment and Depth: To get the full benefits of Decorative Garden Bark Chippings | Earth Cycle, you need to maintain a specific depth. For beds and borders, we recommend a layer of 5-10cm (2-4 inches). Without edging, the bark thins out at the perimeter, losing its ability to suppress weeds and retain moisture.
- Moisture Retention and Soil Health: Bark mulch is a powerhouse for soil health. It regulates temperature and prevents the ground from drying out during our humid Massachusetts summers. Proper edging ensures the mulch stays thick enough to do its job effectively.
- Erosion Control: On the sloped properties common in towns like Reading and Lexington, bark can easily wash away during a spring downpour. A sturdy edge acts as a mini-retaining wall, keeping your investment on the soil and out of the storm drains.
John Keeble Credit: John Keeble/ Getty Images captures the aesthetic essence of well-maintained landscapes, and nothing ruins that visual harmony faster than a “bleeding” edge where mulch and grass blur together.
Best Materials for Garden Borders
Choosing the right material for your edging for bark chippings depends on your budget, the style of your home, and how much maintenance you’re willing to do. In the Greater Boston area, we have to consider the freeze-thaw cycle, which can heave poorly installed edging right out of the ground.
| Material | Durability | Aesthetic | Best For |
|---|---|---|---|
| Metal | High (20+ years) | Modern / Crisp | Wavy paths and clean lawn lines |
| Plastic/Rubber | Medium (5-10 years) | Subtle / Hidden | Budget-conscious DIY projects |
| Wood | Medium (7-12 years) | Natural / Rustic | Straight borders and raised beds |
| Stone/Brick | Very High (30+ years) | Classic / Formal | High-end curb appeal |
For those looking to integrate these borders into a larger backyard transformation, exploring our hardscaping services can help you coordinate your edging with patios or walkways.
Durable Metal Edging for Bark Chippings
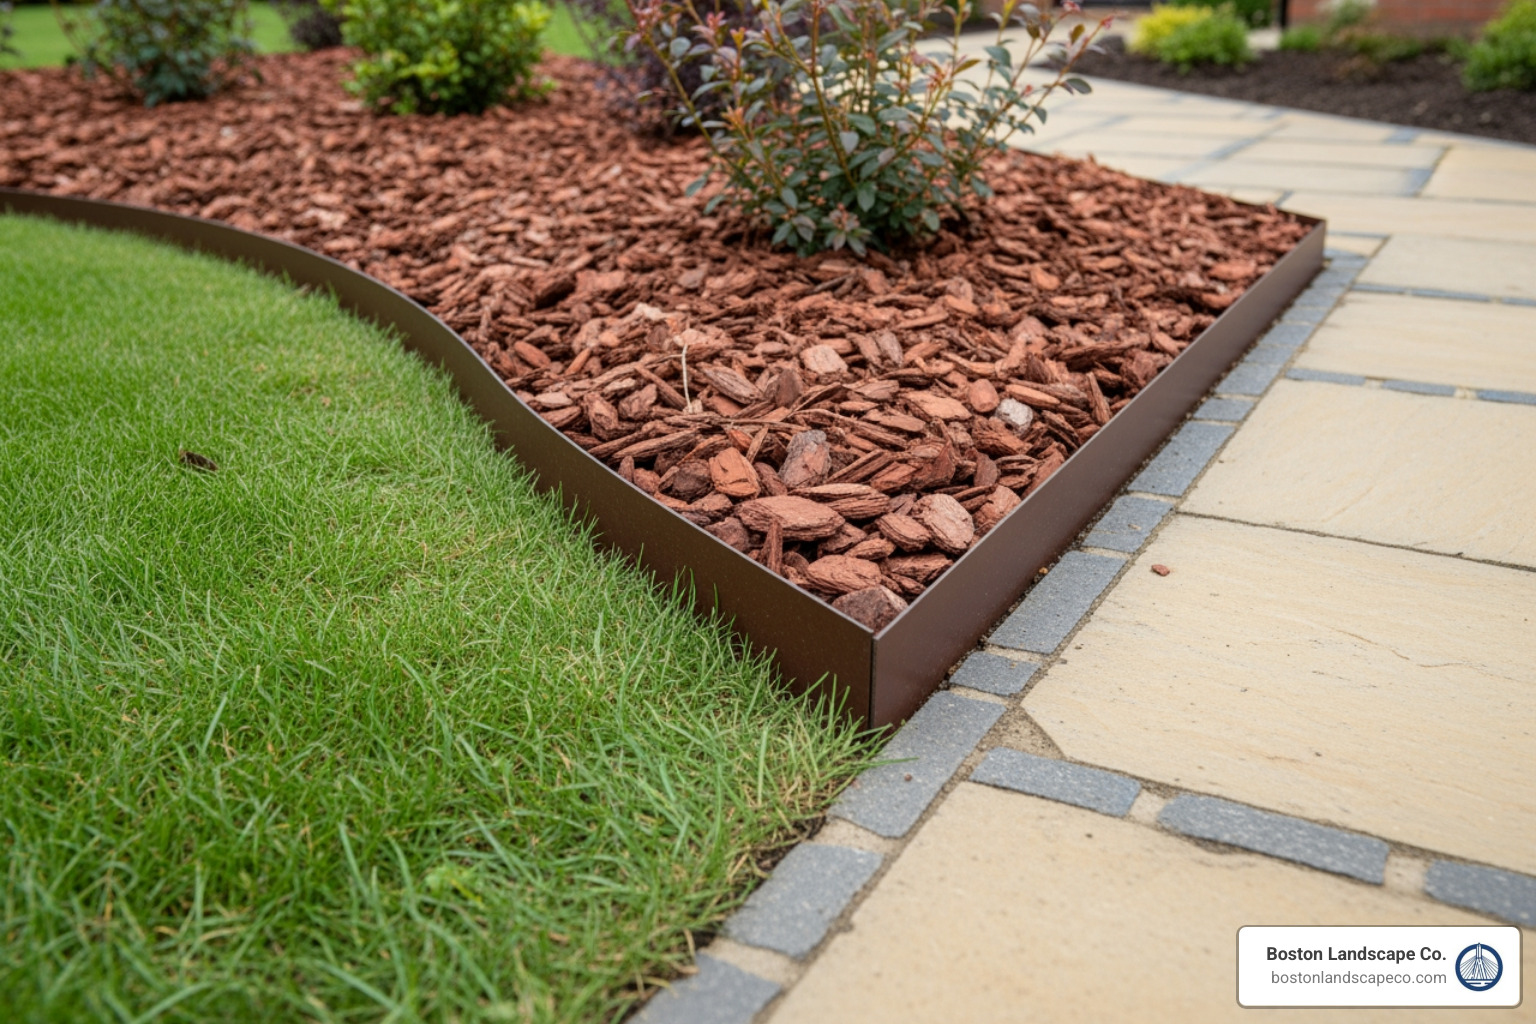
Metal is often the gold standard for professional landscapers. Products like Everedge or commercial-grade aluminum are incredibly thin, allowing them to disappear into the landscape while providing a rock-solid barrier.
In Billerica, MA Landscape Edging projects, we often suggest Corten steel. This material develops a beautiful, protective rust patina over time that complements the deep browns and reds of bark chippings perfectly. Metal is also the easiest material to use for those “S” curved paths because it can be bent without snapping.
Budget-Friendly Plastic and Rubber Options
If you are tackling a weekend project, DIY Garden Projects: Using Bark Chips for Paths and Edging on a Budget often points toward recycled rubber or “no-dig” plastic.
Modern recycled rubber edging is surprisingly tough and mimics the look of stone or wood. It’s particularly good for containing bark because it’s flexible and usually comes with heavy-duty stakes. Just ensure you choose UV-resistant options; otherwise, the intense summer sun in Malden or Medford will make the plastic brittle within a few years.
Natural Wood and Stone Edging
For a classic New England look, nothing beats stone or wood. Garden Bark & Wood Chippings | Garden Maintenance often look best when paired with pressure-treated landscape timbers or rot-resistant cedar.
If your home has a more formal architecture, such as those found in Wellesley or Concord, cobblestones or concrete pavers offer a timeless border. These provide a wide “mowing strip” where one wheel of the lawnmower can rest, ensuring a clean cut every time without catching the bark.
How to Install Edging for Bark Chippings
Installation is where the magic happens. You can buy the most expensive materials in the world, but if the ground isn’t prepared, the bark will still find a way to escape. Whether we are performing residential landscaping or you are doing it yourself, the steps remain the same.
Preparing the Ground and Weed Membrane
Before you touch the bark, you must address the “pre-work.”
- Clear the Area: Remove all grass and weeds from the zone. If you leave grass roots behind, they will grow right through your new bark.
- Dig the Trench: For most edging, you’ll need a trench about 3-4 inches deep. This ensures the edging is stable and allows the bark to sit slightly recessed.
- Lay the Barrier: We highly recommend a permeable weed membrane. As noted in research for effective mulch installation, this foundation ensures weed control and soil health.
Pro Tip: Avoid using cheap plastic sheeting. You want a fabric that “breathes,” allowing water and nutrients to reach the roots of your plants while keeping the bark from mixing with the dirt below.
Achieving Perfect Curves with Edging for Bark Chippings
Wavy paths are beautiful, but they are notoriously difficult to mark out. We suggest using surveyor’s spray paint or even a flexible garden hose to “draw” the curve on the ground first. Step back and look at it from an upstairs window—this perspective often reveals kinks in the curve that you can’t see from the ground.
When installing metal or plastic edging for bark chippings on a curve, you may need to make “relief cuts” with a hacksaw or grinder on the backside of the material to allow it to bend smoothly without kinking.
Maintenance and Cost Considerations
Bark is an organic material, which means it changes over time. Unlike stone, it decomposes, which is great for your soil but means you’ll need to do a little “refresh” every 12 to 18 months.
During your spring clean-up landscaping, we recommend raking the existing bark to break up any “fungal mats” that may have formed. This allows water to penetrate the soil. If the bark has thinned out, add a fresh 1-inch layer to restore that vibrant color and weed-blocking power.
Average Costs for Edging Materials
When budgeting for your project, keep in mind that prices vary wildly based on the material and the complexity of your yard. The following figures are average costs found in online landscape supply data and do not represent the specific pricing of Boston Landscape Co.
- Trench Edging (DIY): $0 (Just your labor and a spade).
- Plastic/Rubber Edging: $2 – $8 per linear foot.
- Metal Edging (Aluminum/Steel): $5 – $15 per linear foot.
- Stone or Brick Pavers: $10 – $35+ per linear foot.
Note: Real-world variability—such as soil density, tree roots, and site accessibility—can often push professional installation costs to 3x these base material averages.
Frequently Asked Questions about Edging for Bark Chippings
Does bark require deeper edging than gravel?
Yes, generally. While gravel is heavy and tends to stay put, bark chippings are light and airy. Because you need a depth of at least 2-4 inches for effective mulching, your edging needs to be tall enough to contain that volume. We recommend an edge that sits at least 1-2 inches above the final bark level to prevent “float” during heavy rain.
How do I prevent birds from scattering bark?
Local birds, especially blackbirds, love to forage in bark for insects. They can toss chippings several feet onto your lawn in minutes. Using a slightly deeper trench or a “raised” edge (about 2 inches above the mulch) can help contain their enthusiastic scratching. Some homeowners also use “mulch glue”—a water-based binder—to keep the top layer of chippings in place.
What are the best DIY edging ideas on a budget?
If you’re looking to save, the “Victorian Trench” is your best friend. Simply use a half-moon edger to cut a 90-degree angle into the turf, sloping back into the garden bed. It costs nothing but provides a clean, professional look. Alternatively, repurposing old logs or using “brick-in-trench” (laying old bricks at a 45-degree angle) can create a charming, low-cost border.
Conclusion
Installing the right edging for bark chippings is the difference between a garden that looks “finished” and one that looks like a work in progress. Whether you choose the sleek lines of Corten steel or the rustic charm of cedar timbers, a proper border protects your plants, your lawnmower, and your sanity.
At Boston Landscape Co., we’ve spent decades perfecting the art of the perfect edge for our neighbors in Stoneham, Billerica, and across the North Shore. We understand the local soil, the local climate, and exactly what it takes to make a landscape thrive in Greater Boston.
Ready to take your curb appeal to the next level without the weekend backache? Request an estimate today, and let our team of professionals handle the digging, the hauling, and the heavy lifting for you.