Brick Patio Installation: 5 Easy Steps to Success
Brick patio installation can transform any outdoor area into a stunning focal point, blending functionality and beauty. For a quick overview of how to create a brick patio:
- Select the location: Consider sun exposure, drainage, and views.
- Determine size and shape: Adapt to your outdoor space.
- Choose materials: Pick from clay bricks, concrete pavers, or natural stones.
- Prepare the site: Excavate, grade, and compact the ground.
- Lay the bricks: Follow your chosen pattern for a cohesive look.
Whether you’re a homeowner dreaming of a cozy retreat or a property manager focused on boosting curb appeal, a brick patio adds value and charm to your space. By investing the time to plan your project, you ensure it meets your specific needs and stands the test of time.
I’m Steve Schumacher, a seasoned expert in landscaping with over three decades in the industry, including extensive experience with brick patio installation. Join me as we explore the nuances of creating a patio that harmonizes with your environment and lifestyle.
Explore the infographic below for a visual guide to brick patio installation steps:

Brick patio installation terms to learn:
– hardscapes near me
– landscape contractor
– commercial landscaping
Planning Your Brick Patio
Creating a brick patio is like setting the stage for countless outdoor memories. But before you start building, careful planning is key. Let’s explore the essentials.
Choosing the Right Location
Proximity to Your House: For many, the best spot for a patio is right outside the back door. It makes entertaining easy and keeps you close to the comforts of home. However, consider all your options. Sometimes, a tucked-away corner of your yard offers more privacy or a better view.
Sun Exposure: Think about how much sun your patio will get. Do you want a sun-soaked spot for morning coffee, or a shady retreat for hot afternoons? The sun’s path changes with the seasons, so plan accordingly.
Drainage: Water pooling can be a patio’s worst enemy. Choose a location that naturally drains well, or be prepared to add drainage solutions. This prevents water damage and keeps your patio looking great for years.
Selecting Materials and Patterns
Once you’ve picked the perfect spot, it’s time to choose your materials and design.
Materials:
- Clay Bricks: These offer a classic, warm look. They’re durable and age beautifully, developing a charming patina over time.
- Concrete Pavers: Versatile and available in many styles, concrete pavers can mimic stone or brick. They’re often more budget-friendly than natural stone.
- Natural Stone: For a rustic appeal, natural stone is best. Each piece is unique, providing a one-of-a-kind look, though it might be a pricier option.
- Permeable Pavers: Eco-friendly and great for drainage, these pavers allow water to pass through, reducing runoff.
Patterns:
- Running Bond: A simple, classic look where each row is offset by half a brick. It’s easy to lay and requires minimal cutting.
- Herringbone: Bricks are laid at right angles, creating a zig-zag pattern. This design is both strong and visually appealing.
- Basketweave: Pairs of bricks are laid in alternating directions, creating a woven appearance. It’s a timeless choice that adds texture.
Choosing the right combination of materials and patterns can make your patio uniquely yours. Some patterns may require more cutting, which can increase costs and time, so plan accordingly.
With these considerations in mind, you’re ready to lay the groundwork for a beautiful and functional outdoor space. Next, we’ll explore how to prepare your site for installation.
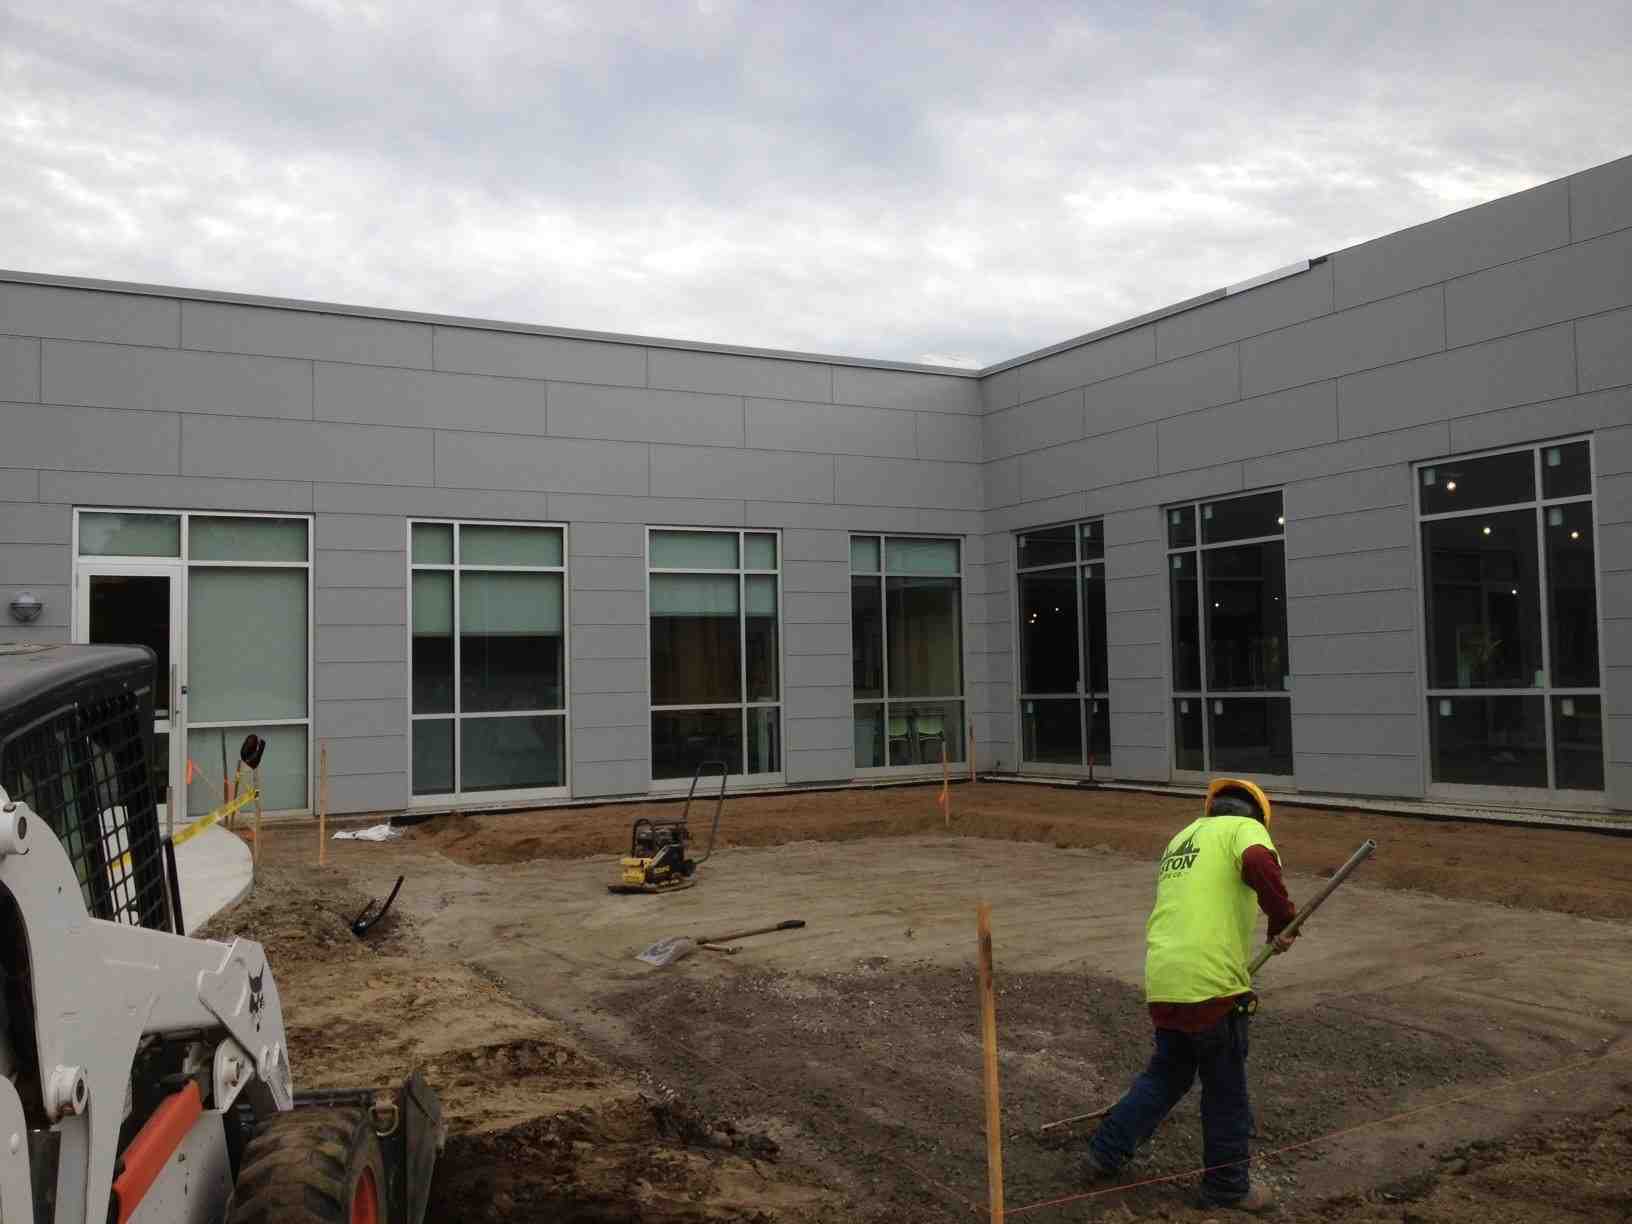
Preparing the Site
Before you can enjoy your beautiful brick patio, you need to prepare the site properly. This involves excavating the area and installing the base layer. Each step is crucial for ensuring a stable and long-lasting foundation.
Excavating the Area
Depth and Soil Removal: Start by marking the perimeter of your patio area. You’ll need to excavate to a depth of about 7 inches. This depth allows for the layers of gravel, sand, and the pavers themselves. Use a shovel to remove existing grass, plants, and about 7 inches of soil. This provides a clean slate for your patio.
Leveling: After excavation, it’s important to level the ground. Use a long, straight board and a level to check for high and low spots. Adjust the soil as needed to create an even surface. This step is crucial because an uneven base can lead to shifting pavers and drainage issues.
Installing the Base Layer
A solid base layer is the secret to preventing future settling and ensuring your patio remains level over time.
Gravel Layer: Begin by spreading a 4-inch layer of gravel or crushed stone over the excavated area. This layer provides drainage and stability. Use a landscape rake to distribute the gravel evenly, then compact it thoroughly with a plate compactor. Proper compaction is key to creating a firm foundation.
Sand Layer: On top of the compacted gravel, add a 1-inch layer of sand. Sand helps create a smooth surface for laying the pavers and further stabilizes the base. Use a screed board to level the sand, ensuring consistency across the entire area. Recheck the level using a spirit level to spot any uneven spots.
Landscape Fabric: For added weed control and stability, consider laying a landscape fabric between the gravel and sand layers. This fabric prevents weeds from sprouting while allowing water to drain through.
By following these steps, you’ll create a strong foundation that supports your brick patio for years to come. Next, we’ll dive into the exciting process of laying the pavers and bringing your patio to life.
Brick Patio Installation
Once the site is prepared, it’s time to bring your patio to life with brick patio installation. This involves carefully laying the pavers in your chosen pattern and securing the edges for stability.
Starting the Pattern
Choosing the right pattern is key to the visual appeal of your patio. Let’s explore some popular patterns:
- Running Bond: This is the simplest pattern, where bricks are laid in straight lines with staggered joints. It’s easy to install and requires minimal cutting, making it ideal for beginners.
- Herringbone: For a more dynamic look, the herringbone pattern involves placing bricks at a 45-degree angle to each other, creating a zigzag effect. This pattern is not only visually striking but also offers excellent interlock and strength.
- Basketweave: This pattern uses pairs of bricks laid at right angles to each other, creating a woven appearance. It’s a classic choice that adds charm and texture to any patio.
When starting your pattern, begin in one corner and work your way across the patio. Drop the pavers into place gently to avoid disturbing the sand bed underneath. This helps maintain a consistent level and prevents the need to re-level.
Securing the Edges
Securing the edges of your patio is crucial to prevent the pavers from shifting over time. Here’s how:
- Plastic Edging: Use plastic edging along the perimeter of your patio. This flexible edging conforms to curves and angles, providing a clean boundary.
- Spikes: Secure the edging with 10-inch spikes. These spikes anchor the edging into the soil, ensuring it stays in place. Over time, the spikes will rust, providing an even better grip.
- Stability: Once the edging is in place, double-check the stability by gently pressing on the pavers near the edges. If any pavers feel loose, adjust them and ensure they’re snug against the edging.
By carefully laying your pavers and securing the edges, you’ll create a patio that’s not only beautiful but also built to last. Next, we’ll explore the finishing touches that lock everything in place and protect your new outdoor space.
Finishing Touches
Once your pavers are laid and edges secured, it’s time to add the finishing touches that will ensure your patio is both durable and beautiful. These steps involve filling the joints with sand and sealing the surface to protect it from the elements.
Filling Joints with Sand
Filling the joints between your pavers with sand is a crucial step in brick patio installation. It locks the pavers in place and prevents them from shifting.
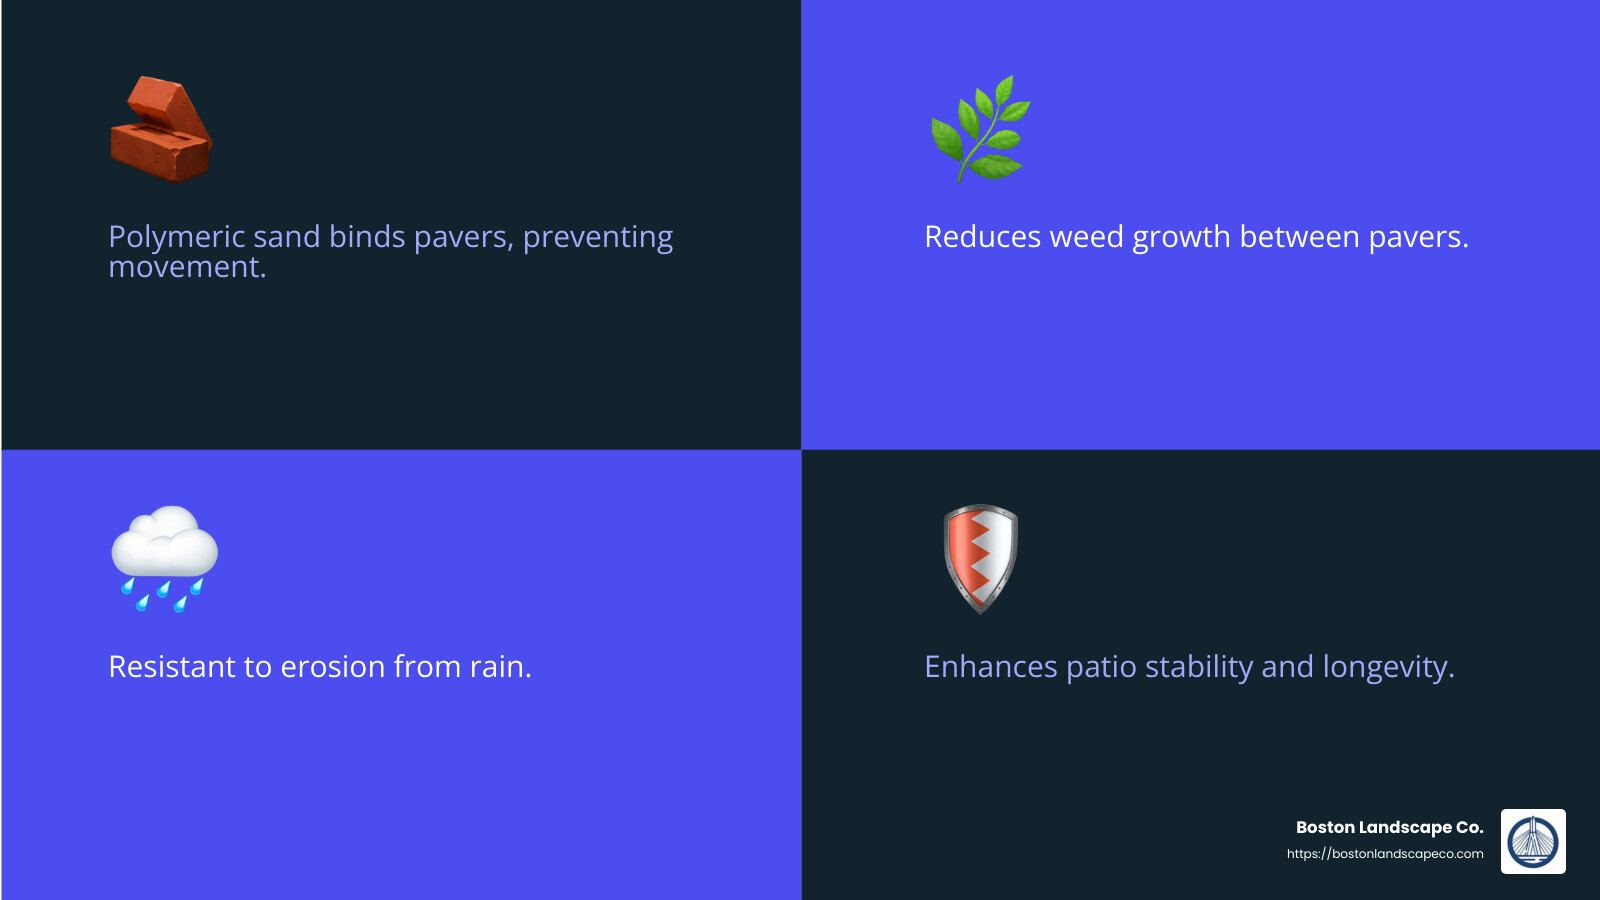
- Polymeric Sand: This is the best choice for filling joints. Polymeric sand contains additives that bind the sand particles together, creating a solid, stable surface. Once activated with water, it hardens and resists erosion and weed growth.
- Application: Spread the polymeric sand over the patio surface using a push broom. Sweep the sand into the joints, ensuring they are completely filled. Work in multiple directions to pack the sand tightly.
- Compacting: After filling the joints, run a plate compactor over the entire patio. This vibrates the sand deep into the joints, ensuring a snug fit. Reapply sand and compact again if necessary to fill any remaining gaps.
Sealing the Patio
Sealing your patio is an optional but highly recommended step. It offers protection against moisture and stains, prolonging the life of your patio.
- Moisture Protection: Sealing helps prevent water from seeping into the pavers, which is especially important in regions with freezing temperatures. This reduces the risk of frost heave, which can damage your patio.
- Stain Resistance: A good sealer also protects against stains from spills, leaves, and other debris. This keeps your patio looking clean and fresh with minimal maintenance.
- Application: Once the sand has settled and the patio is dry, apply a coat of brick sealer using a roller or sprayer. Make sure to cover all surfaces evenly. Allow the sealer to dry completely before using the patio.
By carefully filling the joints with sand and applying a protective seal, your brick patio will be ready to withstand the elements and remain a beautiful part of your outdoor space for years to come.
Next, we’ll address some frequently asked questions about brick patio installation to help you make informed decisions about your project.
Frequently Asked Questions about Brick Patio Installation
What do you put under bricks for a patio?
When building a brick patio, the foundation is key to its longevity. Here’s what you’ll need:
- Bedding Sand: This is the layer directly beneath your bricks. It provides a smooth surface for the bricks to rest on and helps with drainage. Spread a 1-inch layer of sand over the base material, then level it with a straight edge.
- Crushed Stone: Before the sand, lay a base of crushed stone or gravel. Typically, a 4 to 6-inch layer is recommended. This base supports the patio and aids in water drainage, preventing water from pooling under your bricks.
Can I lay my own brick patio?
Yes, you can! Brick patio installation is a rewarding DIY project, but it’s not without its challenges.
- DIY Tips: Start with a clear plan. Measure your area, choose your materials, and gather the necessary tools. A plate compactor and a level are essential for ensuring the base is even.
- Challenges: The physical labor involved is significant. You’ll be working on your knees, hauling heavy materials, and ensuring everything is level. Proper planning and patience are crucial to avoid common pitfalls like uneven pavers or poor drainage.
Is it cheaper to lay a brick or concrete patio?
Cost is a major consideration when deciding between a brick and a concrete patio.
- Cost Comparison: Generally, a brick patio is more cost-effective for DIY enthusiasts. You can save on labor costs by doing it yourself. Concrete patios, on the other hand, often require professional installation, which can drive up costs.
- Aesthetics: Brick patios offer a timeless, classic look with a variety of patterns like herringbone or basketweave. Concrete patios can also be beautiful, especially with modern stamping and coloring techniques, but they tend to have a more contemporary feel.
In summary, both options have their pros and cons. Your choice will depend on your budget, aesthetic preferences, and willingness to undertake a DIY project.
Conclusion
At Boston Landscape Co., we believe that a well-crafted brick patio is more than just an outdoor feature—it’s an extension of your living space. Our team is dedicated to enhancing your outdoor environment with expert planning and meticulous execution. Whether you’re in Boston or one of the surrounding areas like Billerica or Woburn, our comprehensive services are custom to meet your unique needs.
Maintenance Tips
Regular maintenance is key to preserving the beauty and functionality of your brick patio. Here are a few simple tips:
- Routine Cleaning: Sweep your patio regularly to remove debris. For a deeper clean, use a garden hose or a pressure washer on a low setting to prevent moss and algae growth.
- Timely Repairs: Address any loose or sunken pavers promptly. Lift the affected bricks, adjust the sand base, and reset them to maintain a level surface.
- Sealing: Apply a sealer every few years to protect against moisture and stains. This not only helps maintain the color but also makes cleaning easier.
Outdoor Space Improvement
A brick patio is just the beginning. Consider enhancing your outdoor space with additional features like seating areas, fire pits, or walkways. These elements can transform your patio into a versatile space for relaxation and entertainment. Our expertise in hardscaping ensures that your outdoor areas not only look stunning but also serve a functional purpose.
By investing in professional landscaping services, you’re not just beautifying your property—you’re adding value and creating a welcoming environment for family and friends.
Ready to transform your outdoor space with a stunning brick patio? Visit our hardscaping services page to learn more about how we can help you bring your vision to life. Let Boston Landscape Co. be your partner in creating an outdoor space that you’ll love for years to come.
