How to Build Trampoline In Ground: 5 Easy Steps 2024
How to build trampoline in ground combines outdoor play with a seamless backyard change. If you’re looking to improve your family’s playtime while maintaining a polished landscape, an in-ground trampoline is a perfect choice. To build one:
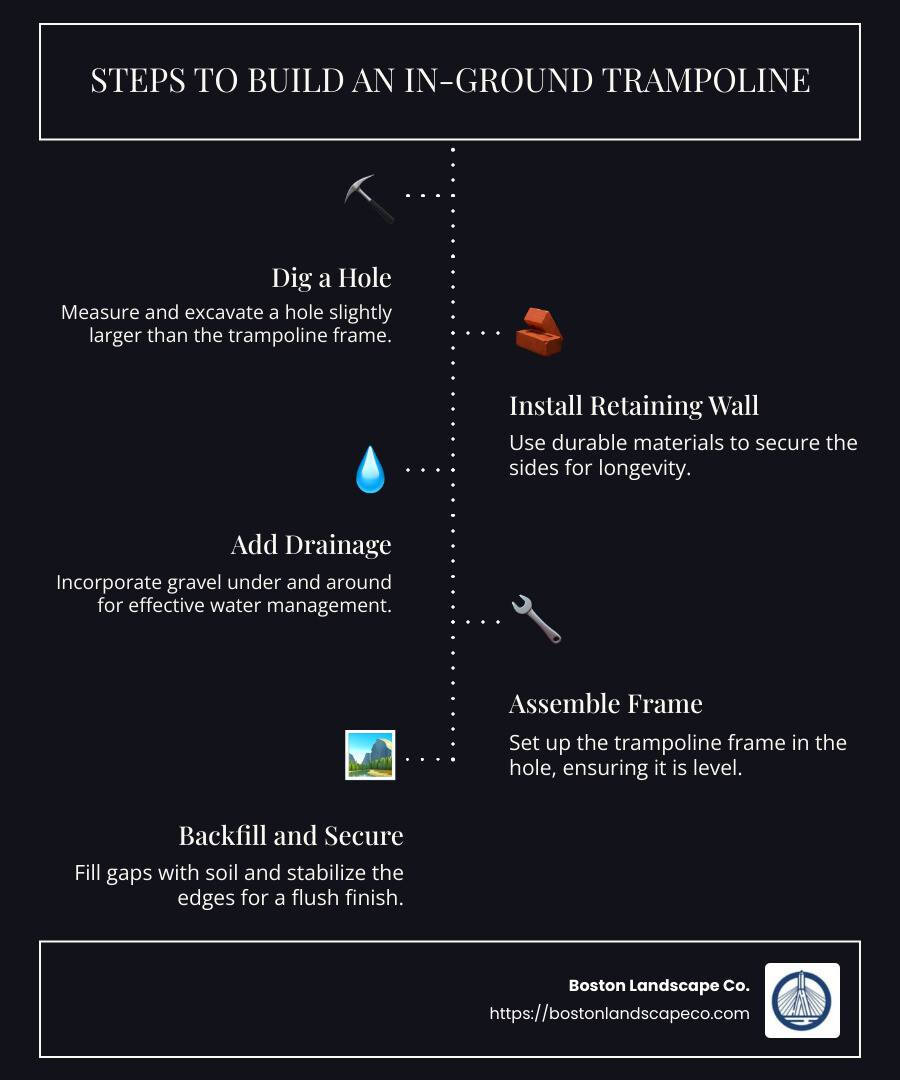
- Dig a Hole: Measure and excavate a hole slightly larger than your trampoline frame.
- Install a Retaining Wall: Use durable materials to secure the sides and ensure longevity.
- Add Proper Drainage: Incorporate gravel under and around for water management.
- Assemble the Frame: Set up the trampoline frame in the hole, ensuring it’s level.
- Backfill and Secure: Fill gaps with soil and stabilize the edges for a flush finish.
Visual appeal, safety, and accessibility make in-ground trampolines a smart addition to any landscape. They blend beautifully into your backyard, offering fun without clutter.
Hello! I’m Steve Schumacher, owner of Boston Landscape Co., sharing my expertise on how to build trampoline in ground. With decades in landscaping, I know how to create outdoor spaces that are both functional and stunning. Keep reading to find the detailed steps that will transform your backyard into a play haven.
How to build trampoline in ground terms made easy:
– Inground Trampoline Company
– how to install an in ground trampoline
– inground trampolines
Planning Your In-Ground Trampoline
Before you start digging, it’s crucial to plan your in-ground trampoline carefully. This will ensure a safe and visually appealing addition to your backyard.
Location Selection
First, pick the right spot for your trampoline. Choose an area that is flat and away from any obstacles like trees, fences, or garden beds. This will help prevent accidents and make sure the trampoline is safe for everyone to use.
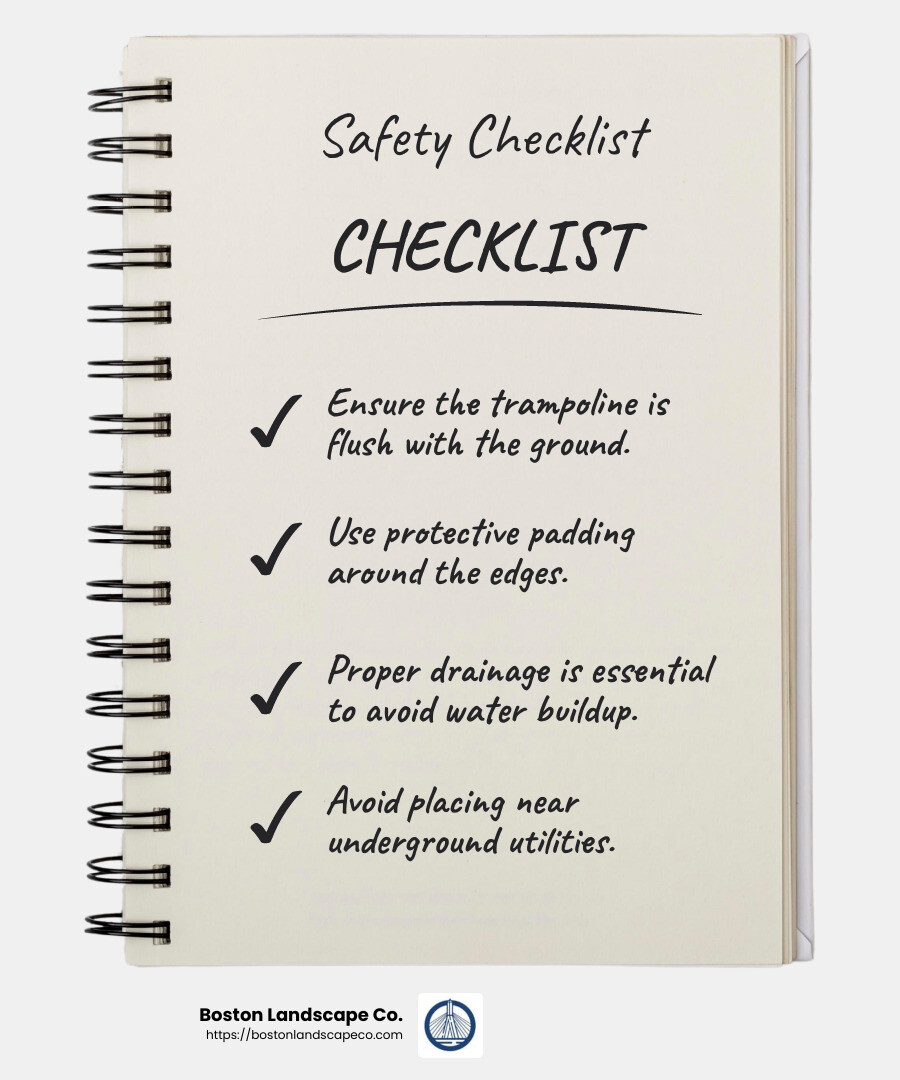
Tip: Avoid placing the trampoline near any underground utilities or irrigation systems. Always call a professional if you’re unsure about what’s beneath your yard.
Safety Considerations
Safety is a top priority when installing an in-ground trampoline. Here are a few key points to keep in mind:
- Surface Level: Ensure the trampoline is flush with the ground to minimize trip hazards.
- Padding: Use protective padding around the edges to prevent injuries.
- Drainage: Proper drainage is essential to avoid water buildup, which can lead to rust and structural damage.
Visual Appeal
An in-ground trampoline can improve the look of your backyard. By blending seamlessly into the landscape, it offers a clean and open view.
- Color Coordination: Choose a trampoline frame and pads that match your outdoor decor.
- Landscaping: Consider surrounding the trampoline with plants or stones to create a natural look.
The goal is to create a play area that is both fun and aesthetically pleasing. With careful planning, your in-ground trampoline will be a hit with your family and a beautiful addition to your home.
How to Build Trampoline In Ground
Building an in-ground trampoline requires careful planning and execution. Let’s break down the process into three main parts: digging the hole, assembling the frame, and installing the retaining wall.
Digging the Hole
Hole Dimensions: The first step is to determine the size of the hole. The dimensions will depend on your trampoline’s size. For example, a 14-foot round trampoline may need a hole that is 12 feet in diameter and 36 inches deep for the inner section. Always refer to your trampoline’s manual for specific measurements.
Soil Removal: Once you have your dimensions, start digging. If you’re using a small backhoe or excavator, the job will be quicker. However, digging by hand with shovels is possible, as shown by a determined family who completed the task over several weeks.
Drainage Considerations: Proper drainage is crucial. Lay a layer of gravel at the bottom of the hole to prevent water buildup. This will help avoid rust and other damage to the trampoline frame.
Frame Assembly
Trampoline Frame: Begin by assembling the trampoline frame according to the manufacturer’s instructions. Make sure the holes for the springs face upwards.
Treated Lumber: To reinforce the frame, attach treated 2×4 lumber to the legs. This will provide additional support against the pressure from the surrounding soil.
Assembly Tips: It’s easier to assemble the frame before placing it in the hole. This allows you to check everything is aligned and secure. If you’re working alone, consider enlisting help to speed up the process.
Retaining Wall Installation
AZEK Material: For a durable and weather-resistant retaining wall, AZEK material is a great option. It’s heavy-duty and waterproof, making it ideal for outdoor installations.
Corrugated Steel: Another popular choice is corrugated steel. This material is flexible and can be easily shaped around the frame, providing robust support.
Retaining Wall Options: Depending on your budget and preferences, you can use different materials for the retaining wall. The key is to ensure the wall is sturdy enough to prevent soil from collapsing into the trampoline pit.
By following these steps, you’ll be well on your way to creating a safe and fun in-ground trampoline for your backyard. Next, we’ll dive into the detailed installation steps, including attaching springs and pads.
Installation Steps
Step-by-Step Guide
Frame Setup & Marking the Dig Area: Start by partially assembling the trampoline frame. This helps mark the area where you’ll dig. Ensure the holes for the springs point upwards. Use spray paint or another marker to outline the dig area. Add an extra 2-5 inches around the frame for easy placement. Save some turf for backfilling later.
Placing the Trampoline: Once the hole is dug and the retaining wall is installed, lower the frame into place. Use cinder block footings or gravel at the bottom to ensure the trampoline sits level. Adjust as needed to make sure everything is aligned.
Attaching Springs and Pads
Spring Attachment: With the frame in the hole, start attaching the trampoline mat using the springs. For rectangular trampolines, begin with the four corners, then attach the middle of each side. This helps distribute tension evenly. An extra pair of hands makes this step easier.
Pad Attachment: Once the springs are secure, it’s time to attach the pads. Start by securing all the toggles onto the pad, then flip it over onto the trampoline. Loop the toggles onto the frame to secure the pad in place. This covers the springs and adds a layer of safety.
Safety Checks: Before jumping, conduct a safety check. Ensure all springs and pads are securely attached. Test the trampoline by applying pressure and checking for any unusual movement or noise. If everything is stable, you’re ready to enjoy your new in-ground trampoline!
By following these steps, you’ll have a trampoline that’s both fun and safe. Next, we’ll address common questions about in-ground trampolines, such as compatibility and drainage needs.
Frequently Asked Questions about In-Ground Trampolines
Can I put a regular trampoline in the ground?
Yes, you can put a regular trampoline in the ground, but there are a few considerations to keep in mind. Frame compatibility is crucial. Not all trampoline frames are designed to withstand the pressure of being buried in the ground. You’ll need to ensure that the frame is strong enough to handle the surrounding soil pressure. Additionally, installing a retaining wall is essential. This supports the soil around your trampoline and prevents it from collapsing into the hole. Options for retaining walls include using materials like corrugated steel or specially designed panels.
Do in-ground trampolines need drainage?
Yes, drainage is vital for in-ground trampolines. Without proper drainage, water can accumulate in the hole, leading to rust or damage to the trampoline frame and springs. The type of soil in your yard will affect your drainage solution. Clay soils, for example, hold water and may require more extensive drainage systems, such as gravel layers or drainage pipes. In contrast, sandy soils naturally drain better but still benefit from a gravel base to ensure water flows away from the trampoline.
How deep should the hole be for an in-ground trampoline?
The depth of the hole depends on the size of your trampoline. Generally, the hole should be deep enough to allow the trampoline mat to sit flush with the ground. For most standard trampolines, this means digging about 3 feet deep. However, always refer to the specifications provided with your trampoline. For example, a rectangular trampoline might require a different depth than a round one. It’s also wise to add a few extra inches to accommodate the retaining wall and drainage materials.
By understanding these factors, you can ensure a safe and effective installation of your in-ground trampoline. In the next section, we’ll wrap up with some final thoughts on enhancing your outdoor space with Boston Landscape Co.
Conclusion
Changing your backyard into a fun and functional space is a rewarding journey, and Boston Landscape Co. is here to help every step of the way. Installing an in-ground trampoline not only improves the visual appeal of your outdoor area but also provides a safe and exciting play environment for everyone.
Outdoor Space Improvement is at the heart of what we do. Whether you’re looking to create a seamless blend with your landscape or maximize your backyard’s usable space, an in-ground trampoline can be a perfect addition. It offers a sleek, unobtrusive design that maintains the natural beauty of your surroundings while providing endless entertainment.
Safety and Fun are our top priorities. With an in-ground trampoline, you reduce the risk of falls and injuries, thanks to its ground-level design. This means more peace of mind for you and more fun for your family. Plus, the durability and longevity of our trampolines ensure that your investment will bring joy for years to come.
Ready to take the plunge and improve your outdoor space? Let us, at Boston Landscape Co., help you create a backyard oasis that combines safety, style, and fun. Contact us today to get started on your journey to a more enjoyable and beautiful outdoor space.
